Web Test Cases
DevAssure provides an intuitive interface for creating and managing test cases.
This guide will take you through the steps of creating a web test case and adding steps for automation with the DevAssure App.
Requirements
- You have created a DevAssure account.
- You have created and initialized a Project.
Create a new Web Test case
You can quickly create a new web test case in the following ways:
-
Home page:
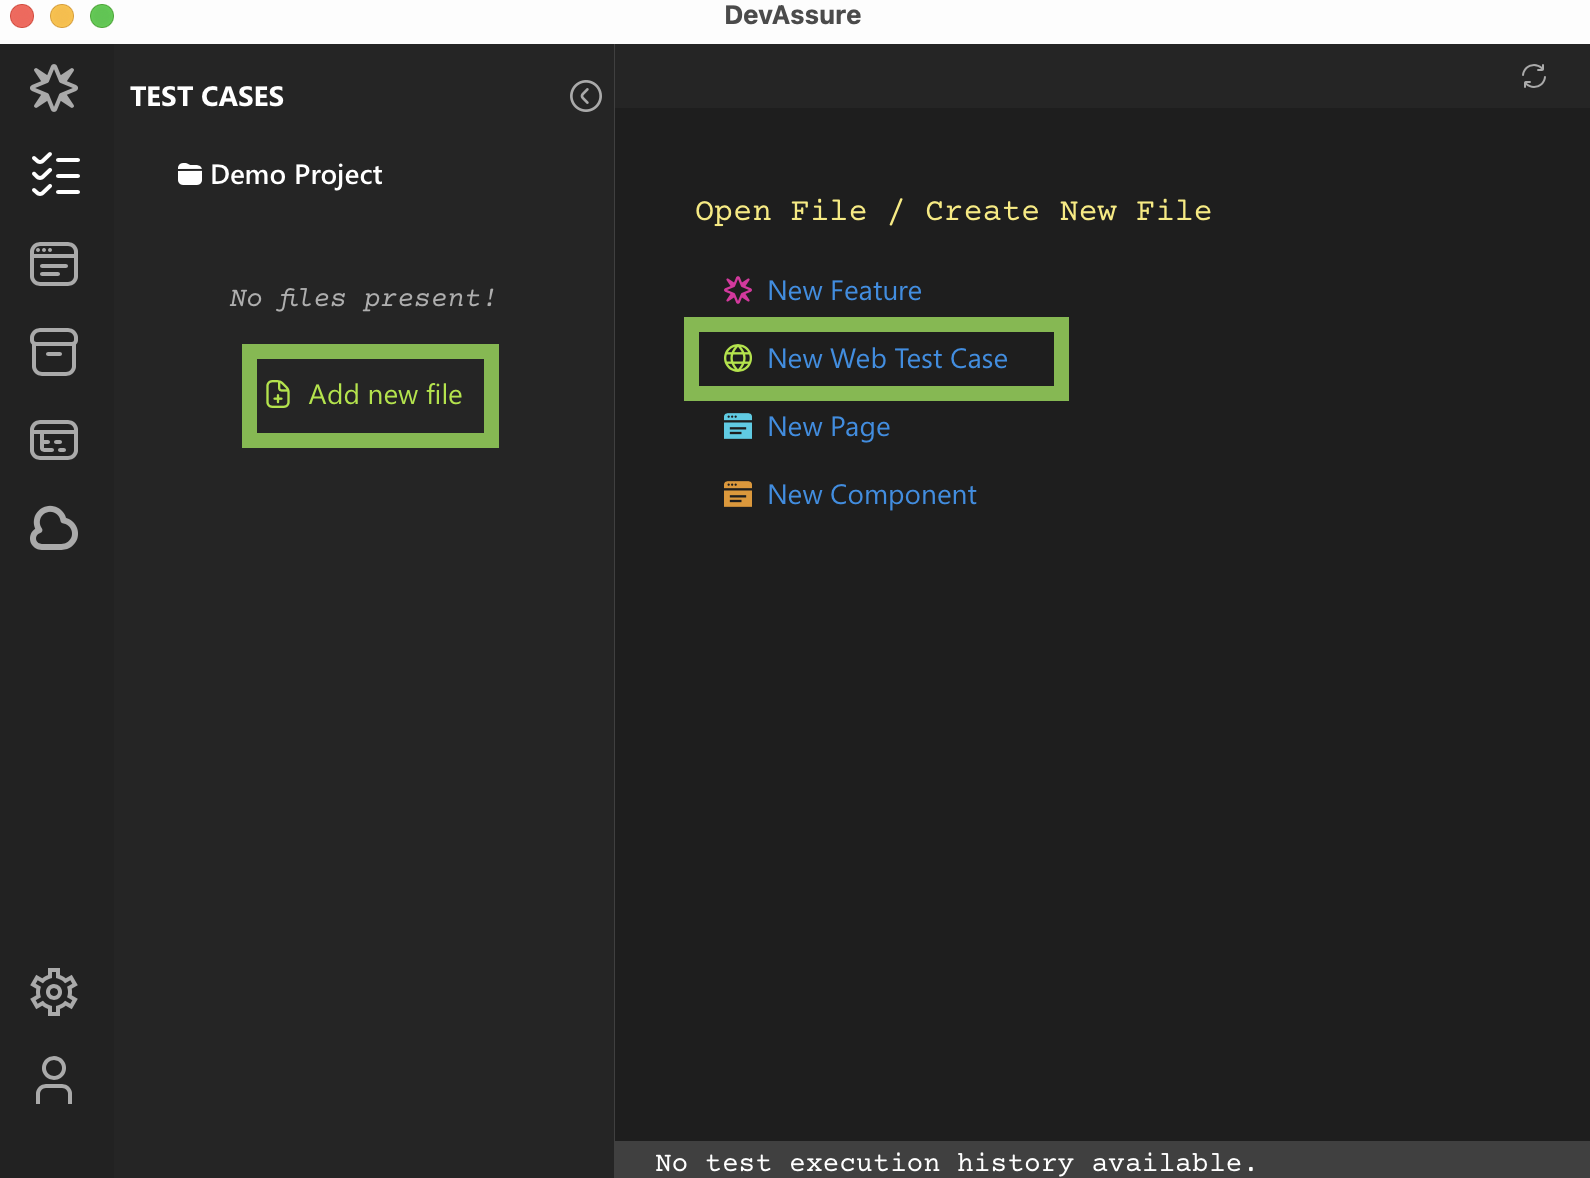
- Select New Web Test Case from the App homescreen.
- Enter web test case name and click Create

-
Explorer:
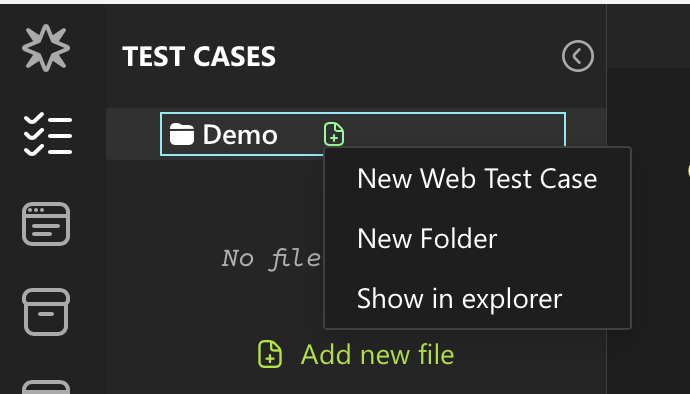
- Select Test Cases from the side navigation.
- Click on Add new icon that appears on hover over the project title in explorer.
- Select New Web Test Case and enter web test case name.

Once a new test case is created, it is opened in editor.
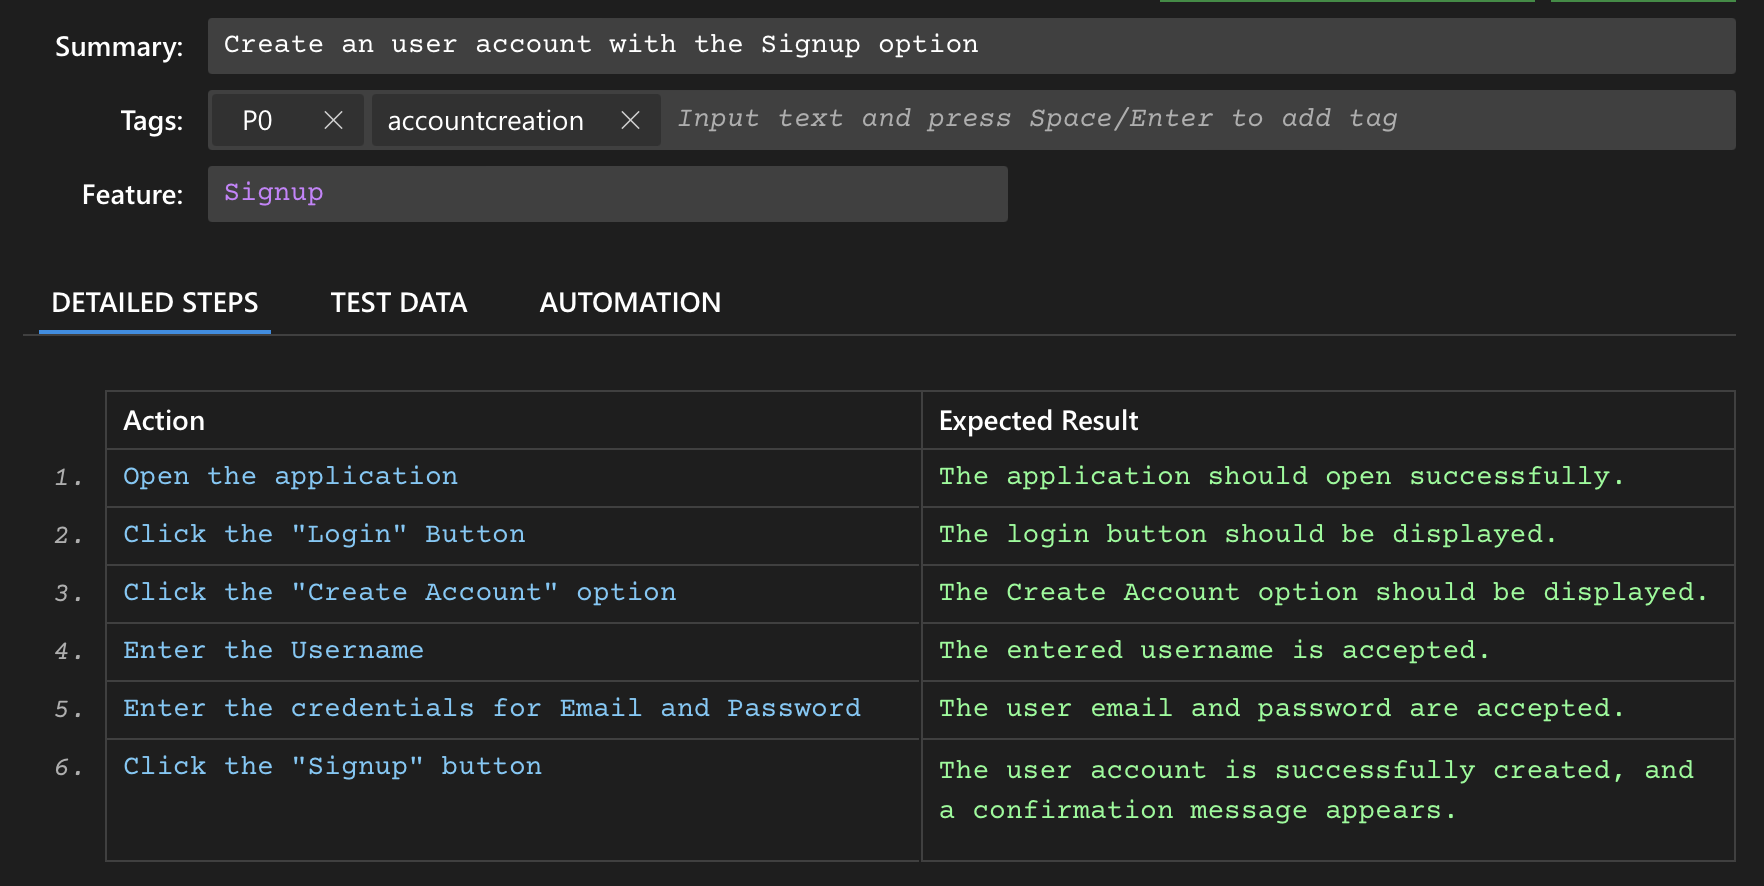
Enter the testcase metadata details in the editor.
| Metadata | Description |
|---|---|
| Summary | Provide a brief description or summary of what the test case is intended to achieve. |
| Tags | Keywords or labels that help categorize or group test cases. Tags can be used for filtering or searching for specific types of test cases. |
| Feature | Provide the specific features or functionalities being tested.This helps in associating the test case with the corresponding parent feature. |
Create Test steps
Select the testcase to be automated in the explorer.
Navigate to Detailed Steps tab ,to create the teststeps.
- In the Action column, input the detailed test steps that need to be executed. These steps should be in the correct order, reflecting the intended flow of the test.
- In the Expected Result column, specify the expected outcome corresponding to each test step.

Add Steps for Automation
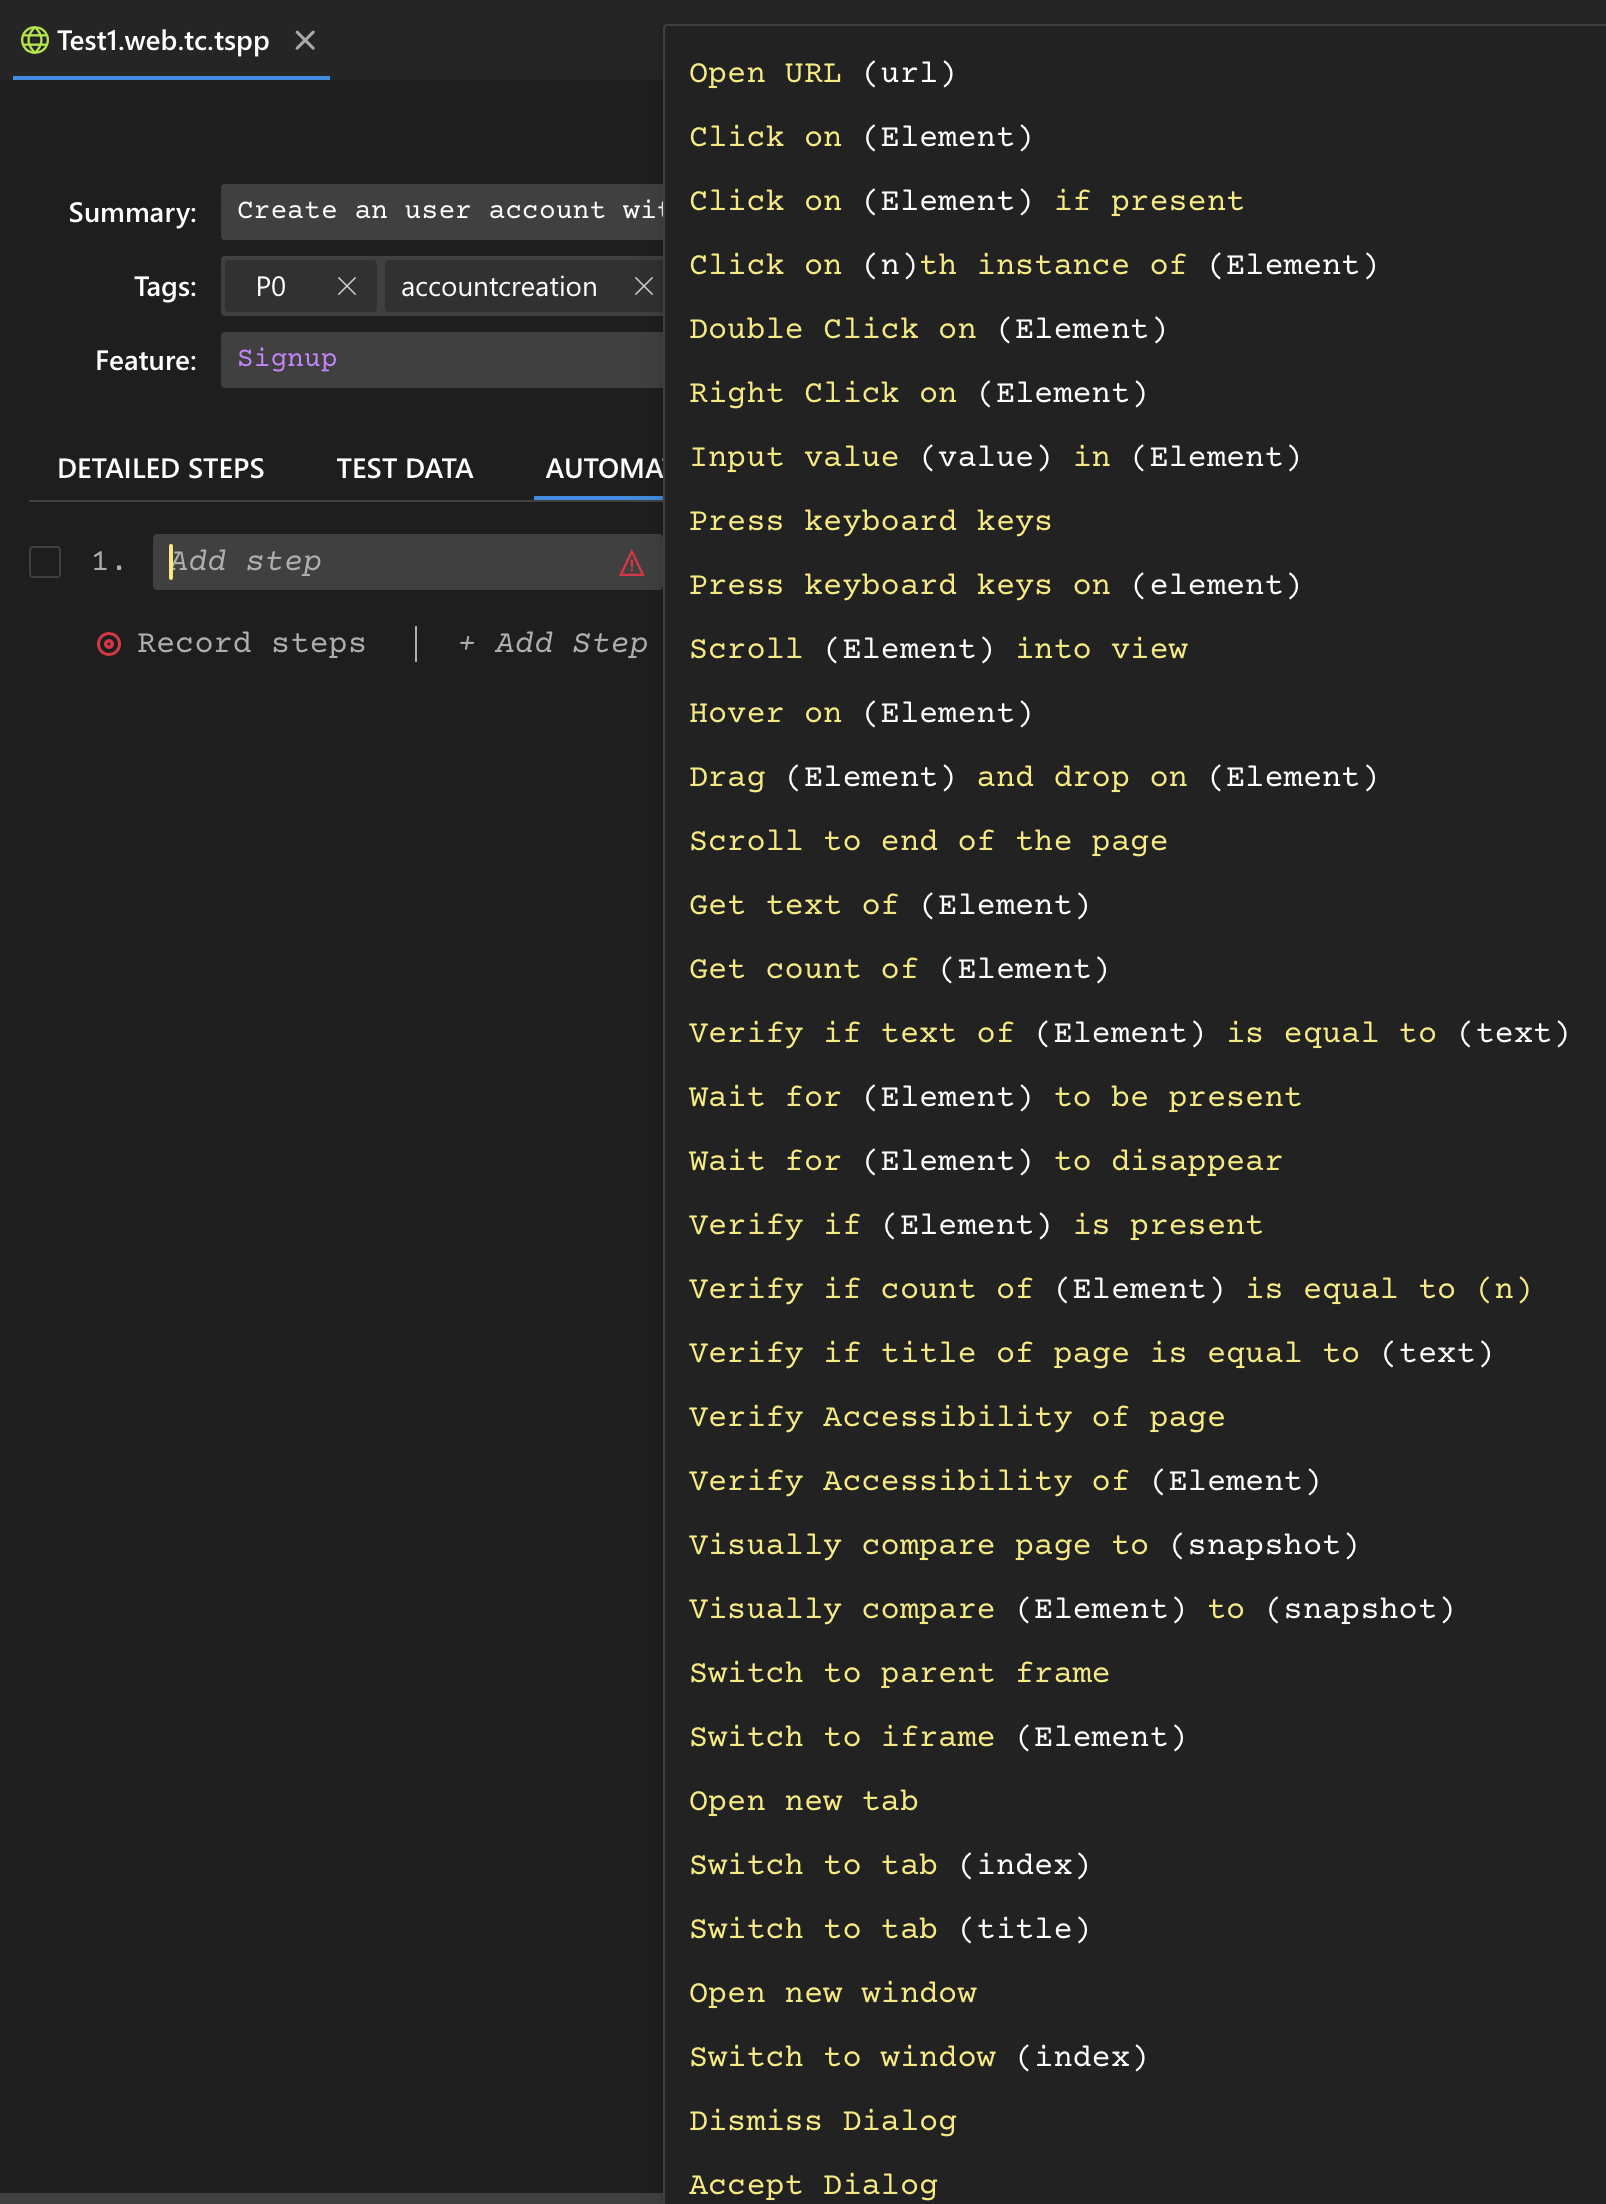
Navigate to Automation tab, to add test steps for the automation.
- To manually include steps for automation, click on Add Step.
- Choose the UI action corresponding to the teststep from the list of inbuilt actions displayed. For more details about UI actions see : Test Action

Edit test case properties
- Choose the test case from the explorer to access its properties for editing.
- The test case details will be displayed in the editor.
- Click on the specific fields requiring updates (e.g., Summary, tags, feature, Detailed Steps) and provide the new information. All changes are saved automatically.
Edit Automation test steps
You can perform various changes to your automation test steps, including:
- Add a new test step.
- Add a new test step above a step.
- Move test steps.
- Copy a test step.
- Delete a test step.
- Add a comment.
- Add an advanced code block.
- Enable /Disable test steps (Commenting test steps)
To edit an automation test step
- Choose the test case from the explorer to access its properties for editing.
- The test case details will be visible in the editor.
- Click on the Automation Tab.
- In the Editor view, hover on the test step you wish to edit and select any of the above supported actions.
